Fake AF Fireplace

Boring drywall becomes a fake AF fireplace.
Do you like the cosiness a fireplace brings to a room, but you hate actual fire? Then a fake fireplace is right for you.
Do you own scrap wood but don´t want to burn it, because of said hatred for fire? --> one solution, the fake fireplace.
My wife and I saw something like this at a local IKEA years ago and after purchasing the mirror above. There we planned to make one of these and 3 glorious years later it became reality.
It’s actually located in our hallway, where the bikes are parked, but we like to add some weirdness to our house from time to time.
The best thing about this build is that you can fit to any size and shape you want, I built it out of mostly scraps and a piece of an Ikea cabinet that we tossed out.
So I’m not actually going to add specific measurements to this, since you might want to make it twice as wide or double as thick.
Mine is slightly higher than hip height on an adult man, and just a little less wide then that ( confused yet?)
It is 20cm deep. Some men like to think that is the size of their genitalia, it is quite often not the case.

TOOLS you’ll need
- scrap wood, from pine/mdf or plywood
I used 6 pieces of 18mm plywood that are 20cm wide by 120cm long
2 pine board of 22cm wide and 100 cm long
1 plywood board for the top that was 25cm wide and 106 cm long
the gray backer board was 9mm plywood, cut to rougly 80x80cm
but as stated before you can make this contraption any size you want.
- A circular saw or jigsaw with a straight edge for ripping the boards lengthwise( I used my table saw, but not everyone has this, so you can use many tools to get the same result)
- Pocket hole jig : https://amzn.to/39k4QTw
- Long Magnetic Screwdriver Bits Set: https://amzn.to/3t0Ikak
- 4cm long wood screws
- A speedsquare for clean crosscuts and to see if you’re building things straight ;)
speedsquare metric: https://amzn.to/3hLyuDL
speedsquare imperial: https://amzn.to/3hLyuDL
- A Self Drilling Drywall anchor: https://amzn.to/3qRKNls
- router
- wood glue
- white paint, I used 1 layer of universal primer and 2 layers of white paint.
- dark gray paint for the middle section.

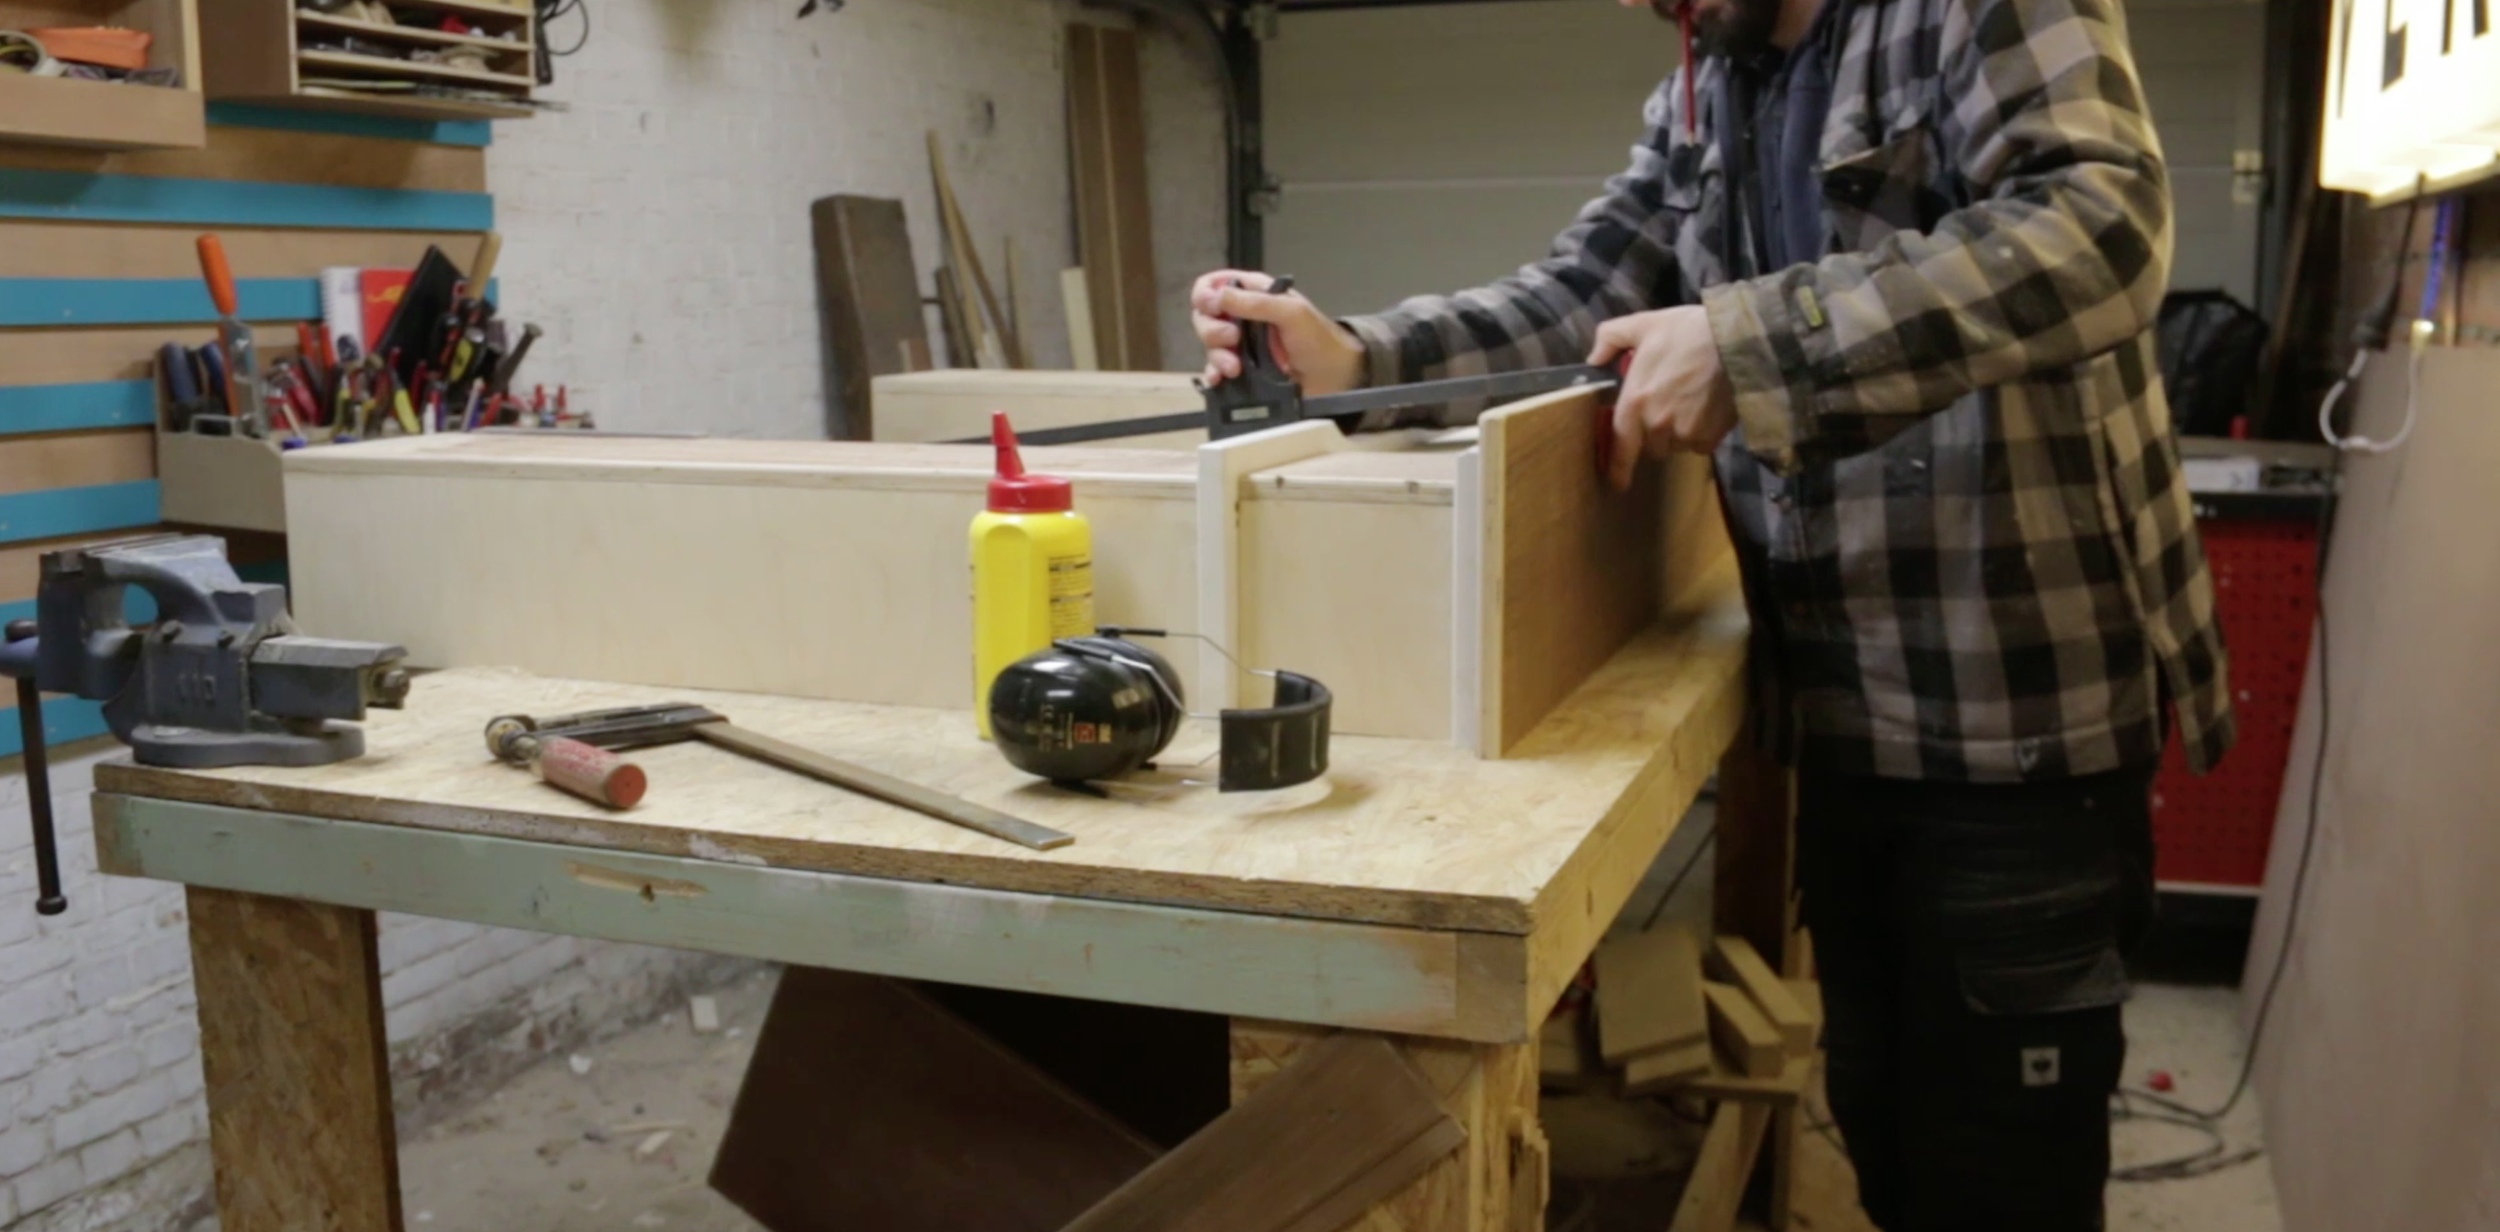
Step 1: Cuttin' Stuff and Dry Assembly
If you are working from a sheet of plywood then now is the time to cut a few strips to the width you choose, in my case 20cm.
I opted to leave the legs long and test out where I wanted my first horizontal divider to go. after I chose that measurement, i cut the long strips using my crosscut sled to some shorter pieces.
You can do this step with a circular saw and a straight edge, or a jigsaw. Or ninja chop SUPER HARD, but this might hurt your hands.
I continued the dry assembly and adding a second horizontal divider on top.
When it felt like the proportions were right I grabbed my router.


Step 2: Rounding Things Over / Prettier Design
I put a roundover bit in my router and gave all the exposed edges a small roundover, the same for the top plate,
this way there are no sharp edges and it looks better.
the next step was to take a cove bit and make three lines lengthwise along the legs, this adds absolutely nothing in terms of structure or strength, but it looks fancier.
When it the make up part was done I grabbed my pocket hole jig and some wood glue.


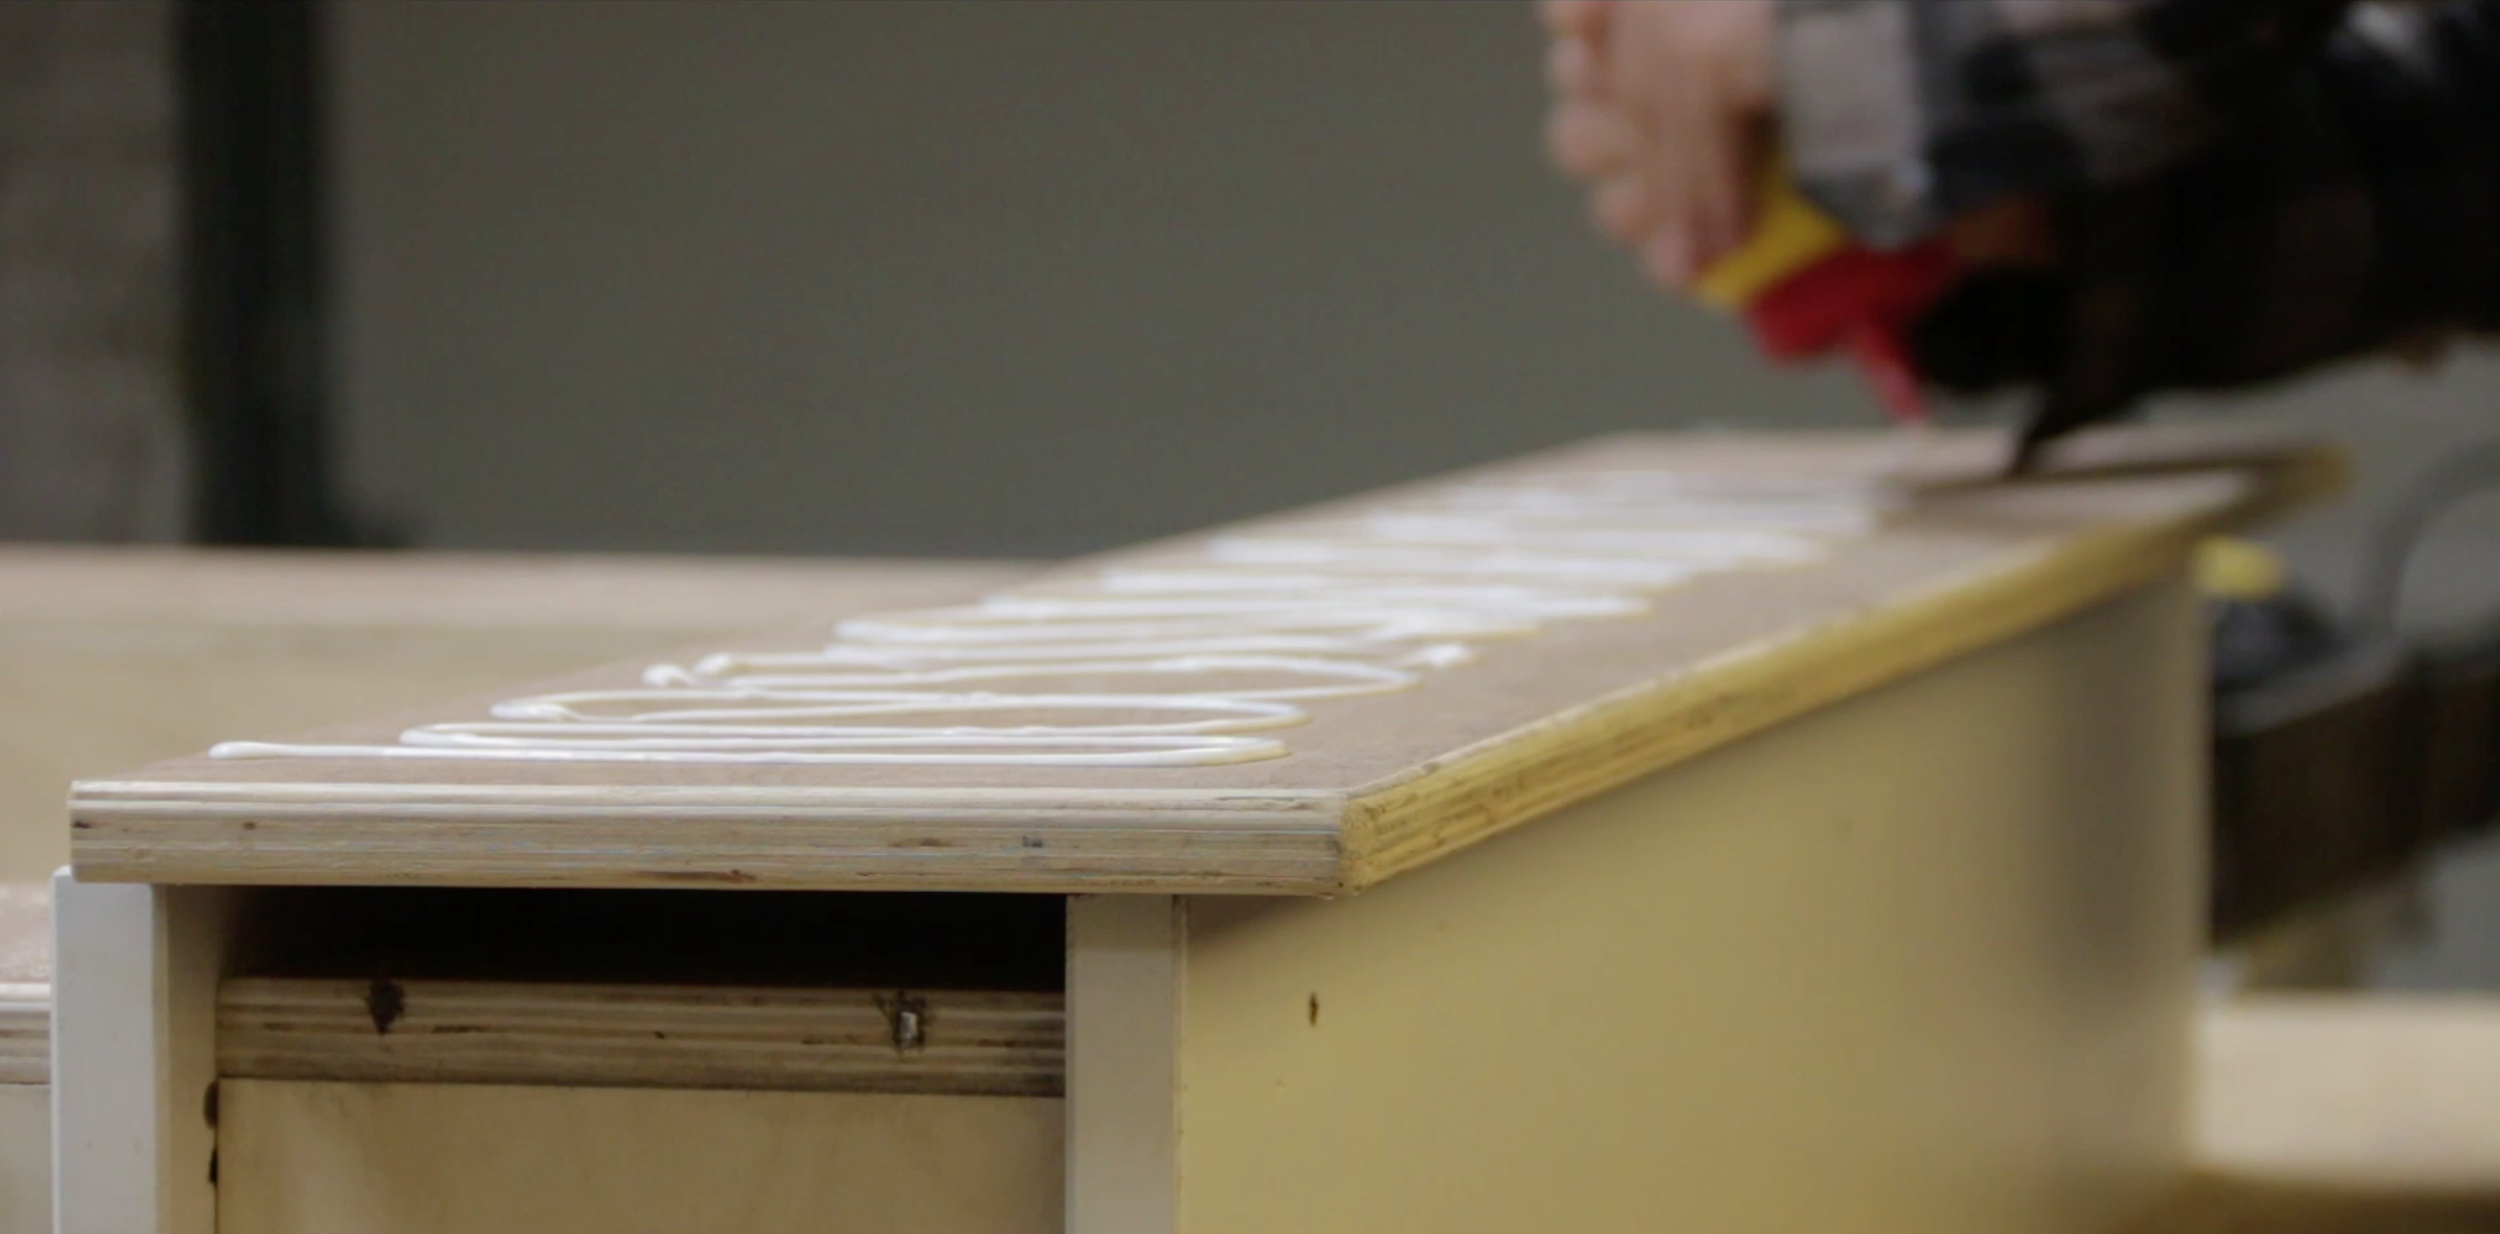
Step 3: Glue All the Things!
Using a pocket hole jig I added several holes along all the upright boards of the legs, except the front facing panels.
Then with a dab of wood glue and some screws I attached these babies permanently.
What you are left with is a bunch of boxes without a back, since the wall will be the back cover of this thing.


Then I marked where the legs will meet the first horzontal divider and pre drilled a few holes
With a few wood screws through those predrilled holes I attached the divider to the legs.


next up were the smalle boxes that go on top, they were also pocket holed ( is that a word?) and glued/screwed together.


when they were attached I used the same process to add the second horizontal divider on top of them and
topped the whole thing off with the widest of all the plywood boards.
With that done it was painting time!

Step 4: Paint.
I gave the whole box a coat of universal white primer. after 3 hours i sanded it lightly and topped off with
two layers of white paint. Sanding lightly with 220grit between the coats.
For the insert I used dark grey that matches our walls, but you could also use black or rainbow colours if that is your thing.
Und jetzt? attach this faker to the wall.

Step 5: Putting It in Its Place.
We added a small wooden lip on the underside of the first horizontal divider. this gives us a spot to both attach it to the wall so the kids can't pull it down on top of themselves and so the backer board can live against something.
We positioned the fireplace in the center of the wall and I marked the location of my lip.
My lip? the lip under the fireplace.
Then we removed the fireplace again and added in one of the coolest inventions; Self Drilling Drywall anchors.


This thing comes with a special bit that slides through the anchors and you drill it into the wall where the anchors magically stays put.
afterwords the Faky fake fireplace came back and was secured with a wood screw. Then the backer board went in and we finished it off with a Mirror on top.

Step 6: Tadaa.
A project video detailing exactly how I made my fake friend.